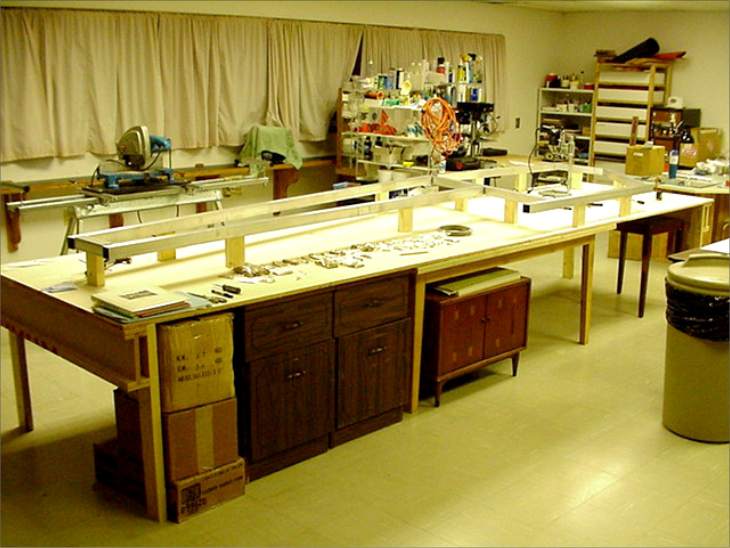
Many first-time builders are surprised by how approachable basic aircraft construction can be. The Affordaplane was designed to keep the work simple, especially compared with many other aircraft projects.
The core shop skills are familiar ones: cutting, drilling, bending metal, sanding, filing, and checking each part carefully. The airframe is mostly aluminum, with 4130 steel wing attach fittings discussed elsewhere in the workshop material, so this article focuses on aluminum cutting.
Aluminum used in the Affordaplane
The aluminum specified for the Affordaplane is mostly 6061-T6, a common aircraft and industrial alloy. It is easy to cut and bend, has good all-around characteristics, and is normally supplied with an anodized surface that helps protect it from corrosion.
6061-T6 aluminum is widely available and used in many applications, including truck bodies, bridges, architectural work, and other structural products. Compared with 4130 steel, it cuts easily.
Cutting sheet and plate
Very thin aluminum sheet, up to about .016 inch, can be cut with regular scissors, although the scissors will dull quickly. For thicker sheet up to about .035 inch, a paper cutter can make long, straight cuts.
A bandsaw can speed up shop work, but it is not required for a single Affordaplane build. Many of the small parts can be made with common tools. The A-Plane uses a number of parts made from .125 inch, or 1/8 inch, aluminum plate. A common jigsaw with a fine-tooth blade works well for this material and helps keep the cut smooth.
Before cutting aluminum with a jigsaw, cover the jigsaw shoe with tape. Duct tape works, and wide strapping tape works even better. The tape protects the aluminum surface from scratches while the flat shoe keeps the tool square to the work.
Using templates and laying out gussets
For fuselage parts, begin by making paper templates from the plans. The plans include full-size templates, so copies can be used for layout. Heavier paper is easier to trace around than lightweight paper.
When laying out parts, use as much material as practical without crowding the shapes. Leave enough space to cut comfortably around each part. Once the layout is set, attach the paper templates to the aluminum with double-sided tape, trace the shapes with a fine-point marker, and then remove the templates before cutting.
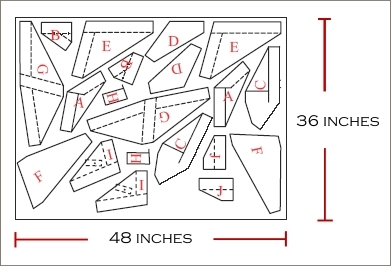
Cut as close to the marked lines as practical. The closer the cut is to the finished line, the less filing and sanding will be needed later. Clamp the material securely so it does not move, and cut close to the clamped area to reduce jigsaw chatter.
Marking square tube
Square tube can be marked directly on the table where the fuselage shape is drawn. Lay the tube on the drawn fuselage lines and use a speed square to transfer the angle accurately.
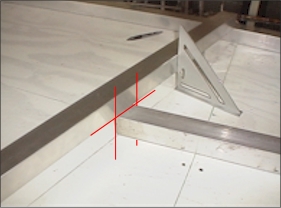
After marking the angle where the tubes cross, use the speed square to draw the line around the tube. With three sides marked, the angle is established and the tube is ready to cut.
Cutting square tube
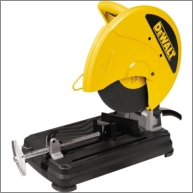
A chop saw fitted with a metal cutoff blade is a simple way to cut square tube. These saws are affordable, and cutoff blades are inexpensive. When used only on aluminum, the blades can last a long time.
Mount the saw on a long table and support the far end of the tube so the work remains square to the blade. Leave a small amount of extra material so the finished tube can be dressed and sanded to final size.
Sanding, filing, and finishing edges
After rough cutting, a belt sander can remove extra material quickly. A wider belt is preferable because small one-inch belts wear out quickly. Aluminum parts can get hot while sanding, so hold small parts with vice grips or a similar tool.
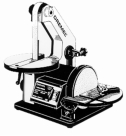
Once the part is close to its final dimensions, finish it with a hand file and emery cloth. Smooth every edge until it feels even to the touch, with no nicks, dents, or burrs. Clean edges matter because they make better parts and reduce stress risers.
After the part is cut, dressed, and deburred, it is ready for drilling. Drilling is a separate workshop topic and should be done according to the plans and the construction manual.
Workshop note
This article is a practical overview. The Affordaplane plans and construction manual control the actual dimensions, templates, materials, part layout, and drilling requirements.